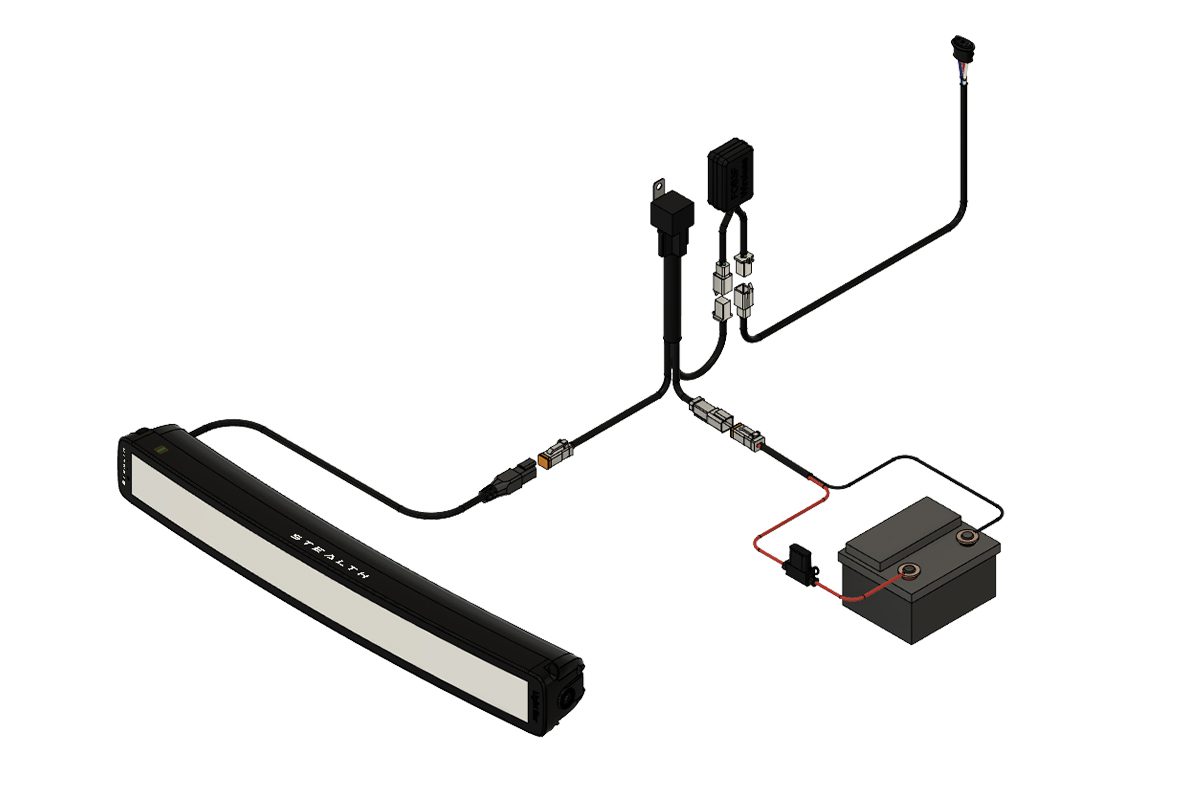
All our LED Integration Kits are bespoke and specific to each individual vehicle. However, our wiring kits all follow a common theme.
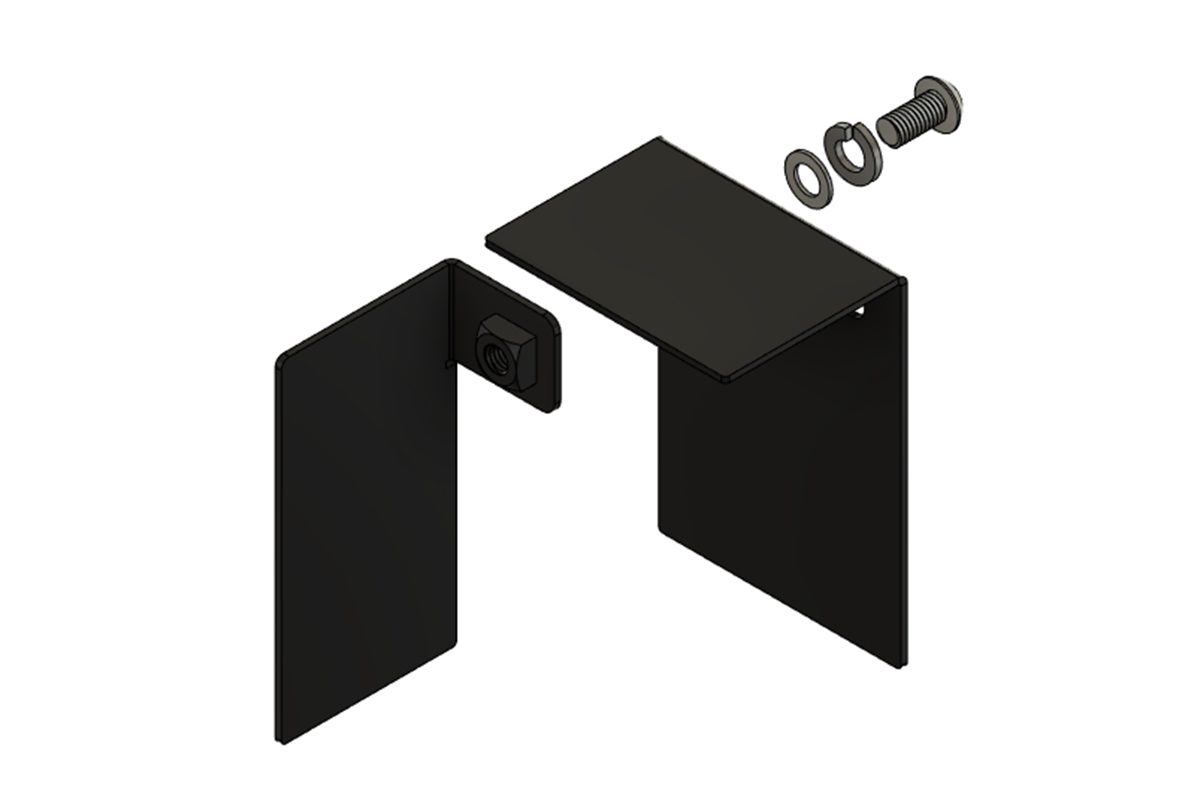
Step 1. Each kit comes with a relay box designed to fit in the engine bay of any given vehicle. Our relay boxes can differ from vehicle to vehicle but are all assembled the same and generally come in two pieces.
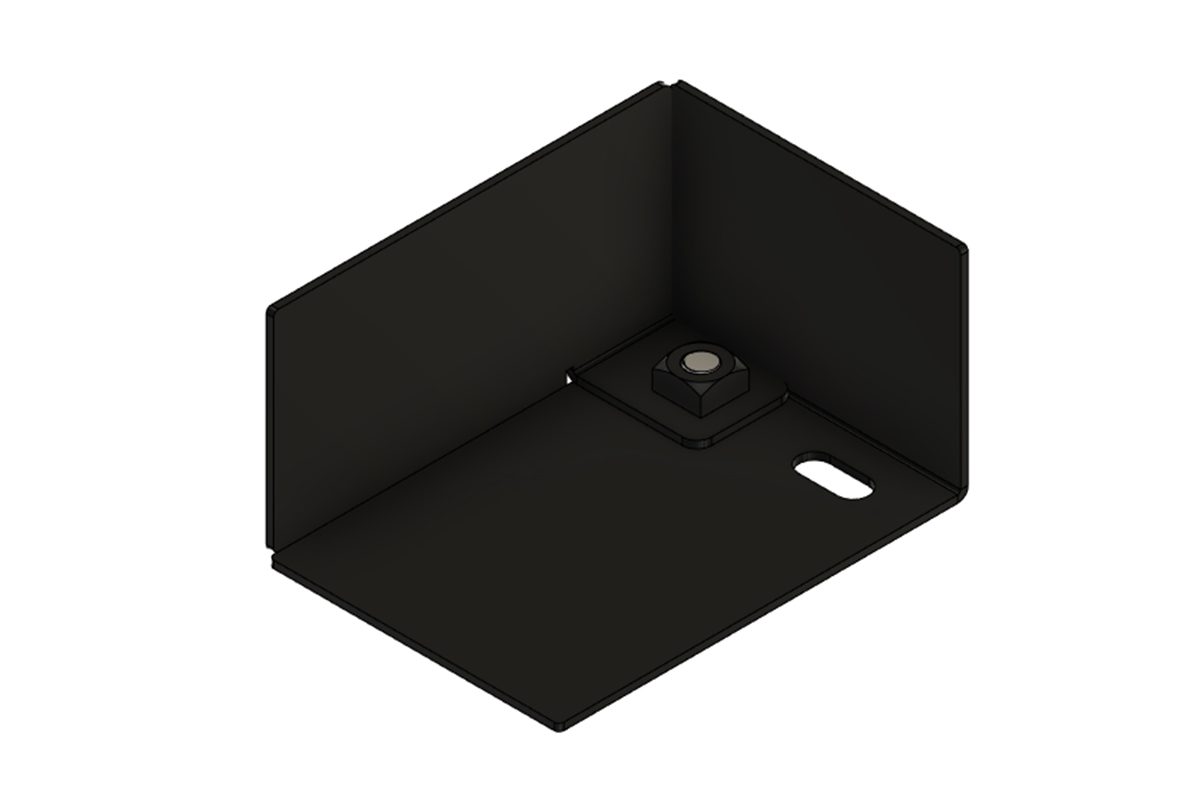
Step 2. Once the relay box has been assembled you can install the relay using the supplied nut, bolt and washers. We have developed our relay box to house and shield the relay against external elements such as heat and water.
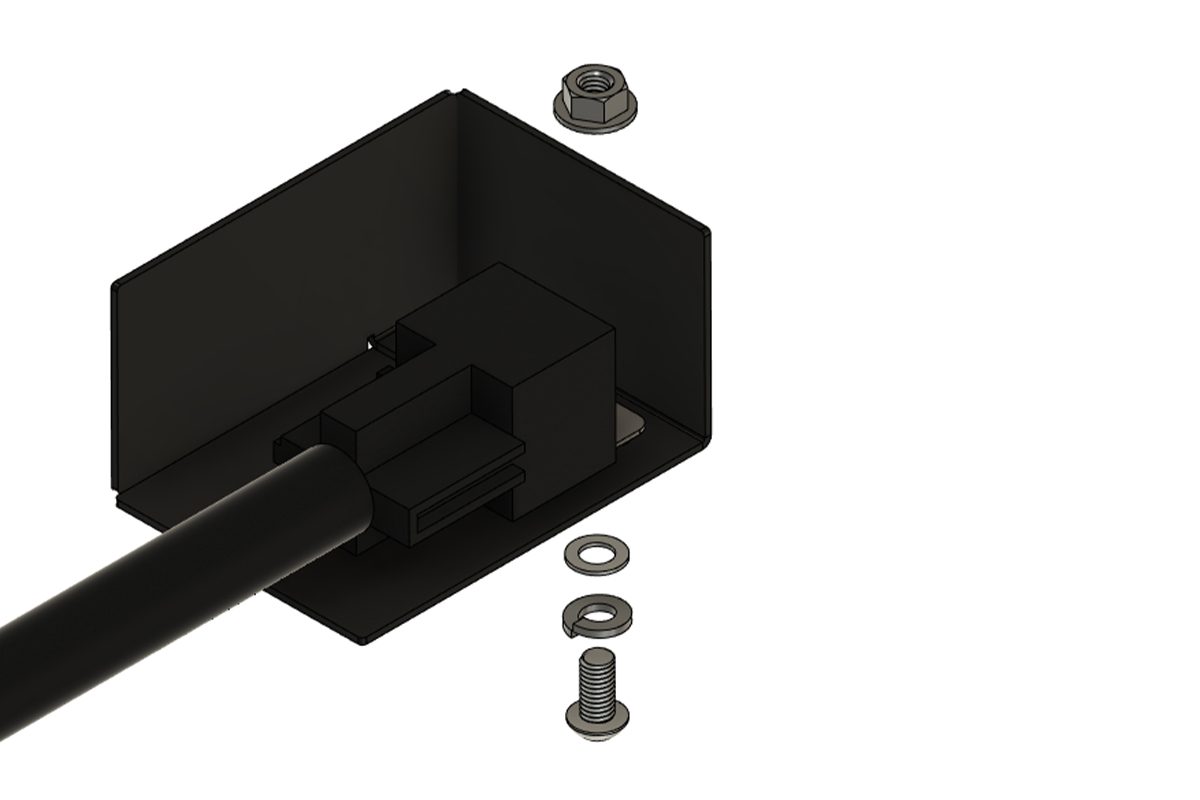
Step 3. With the relay installed you can now place the wireless fob receiver to the inside of the relay box. This is simply done using the supplied double sided tape.
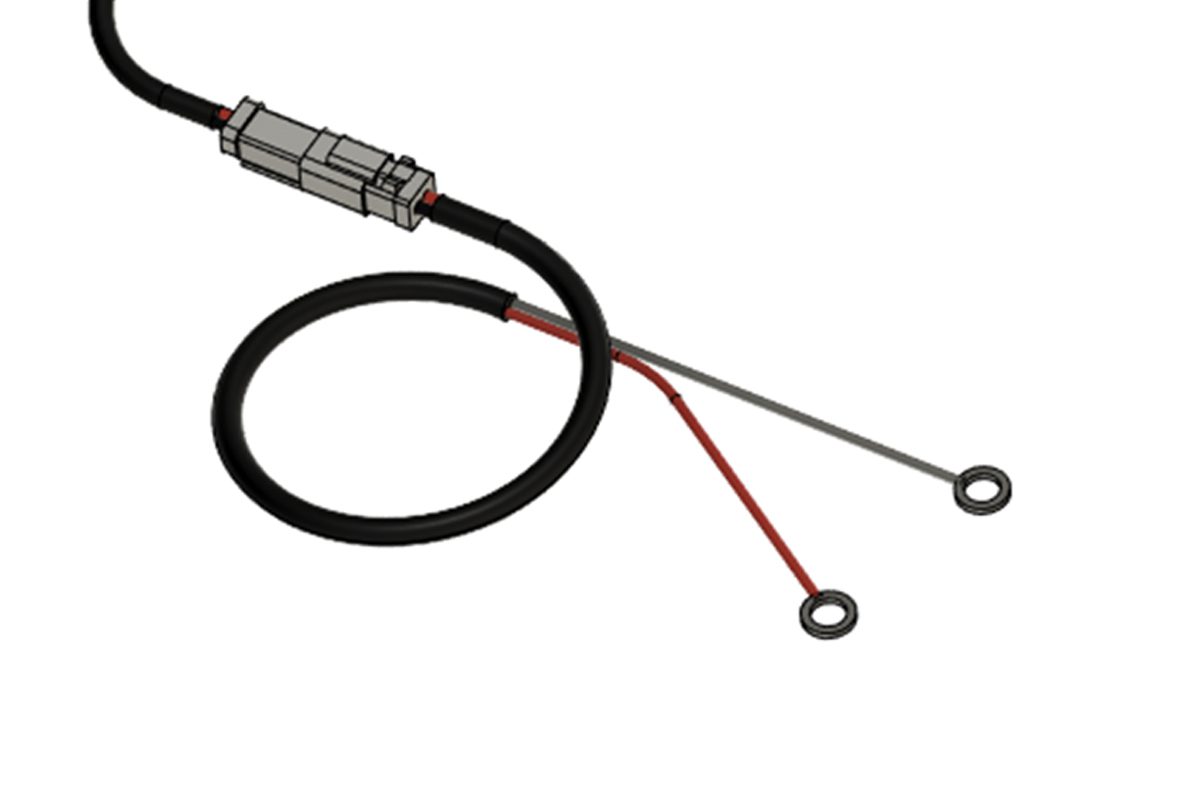
Step 4. With the relay and wireless receiver in place you can plug the power harness that is connected directly to your battery into the main relay.
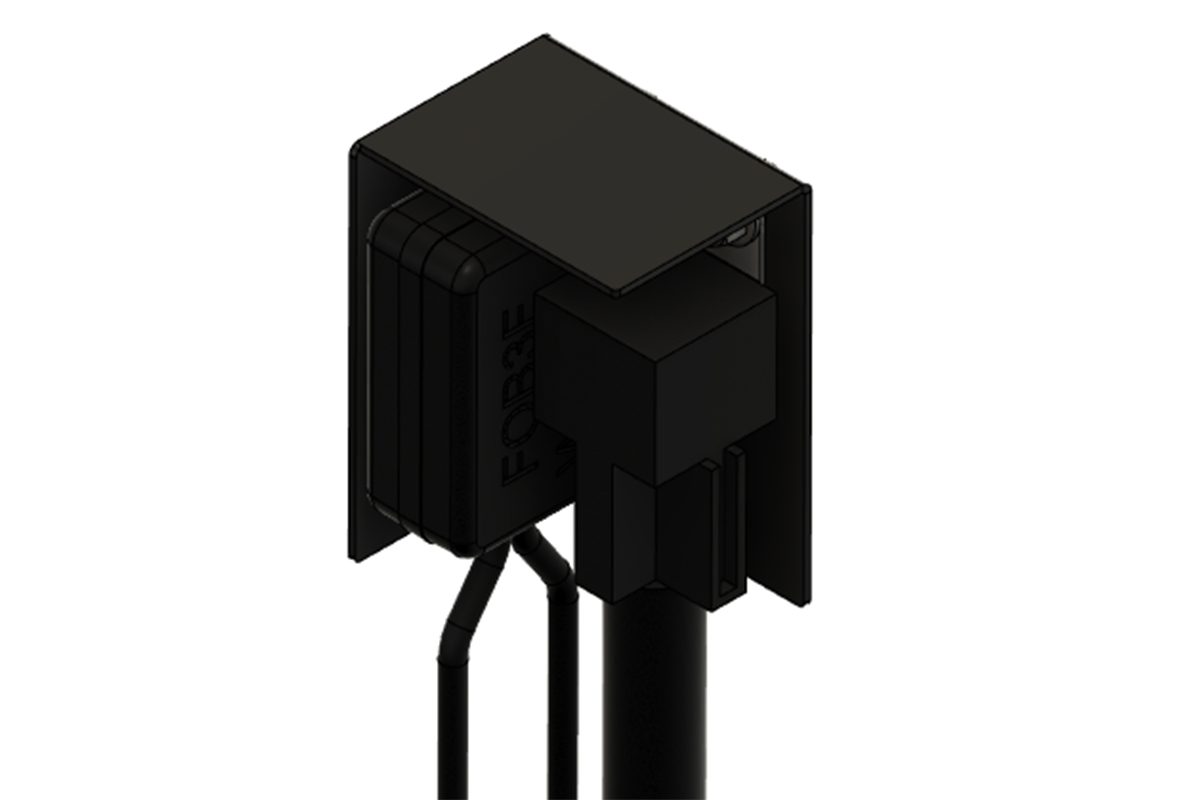
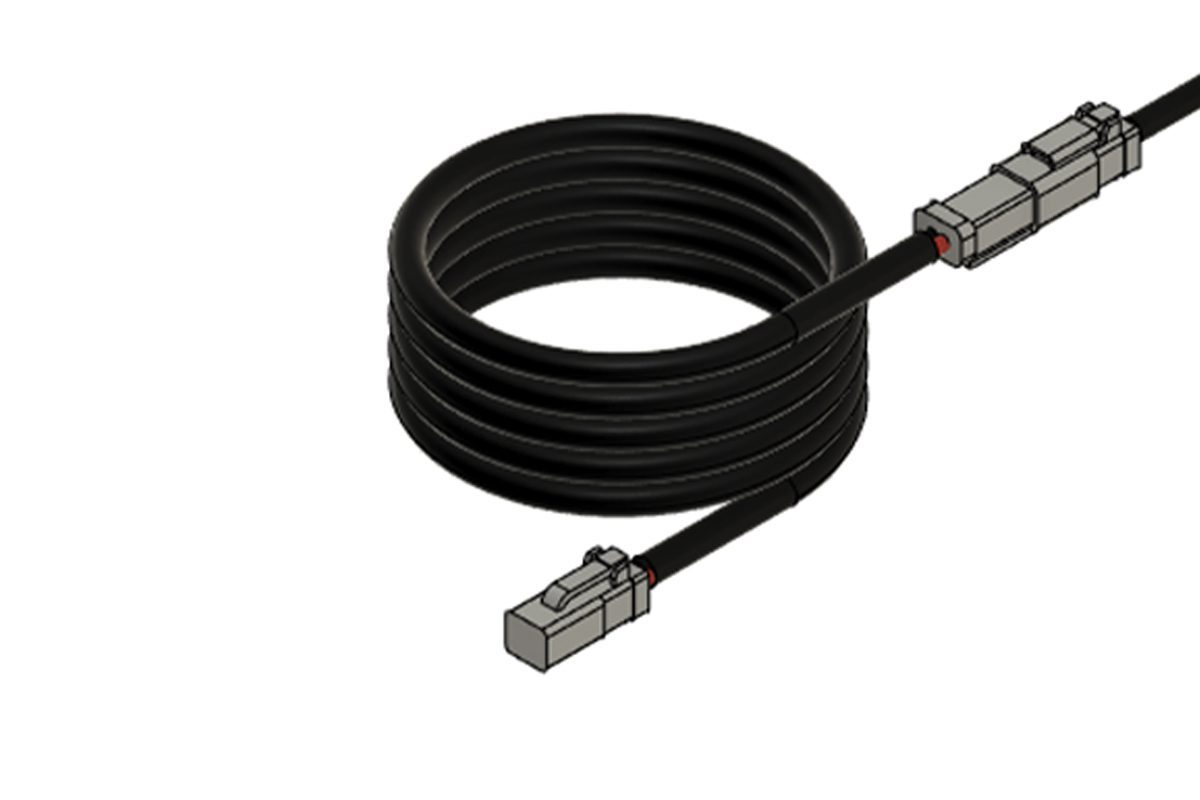
Step 5. Your kit will also come with an extension cable. This is used to send power to the LED light Bar / Bars. Our extensions are vehicle specific and come in various lengths depending on the application. For twin and quad integration kits you will also receive a twin our quad splitter to plug into the extension before connecting to your LED lights.
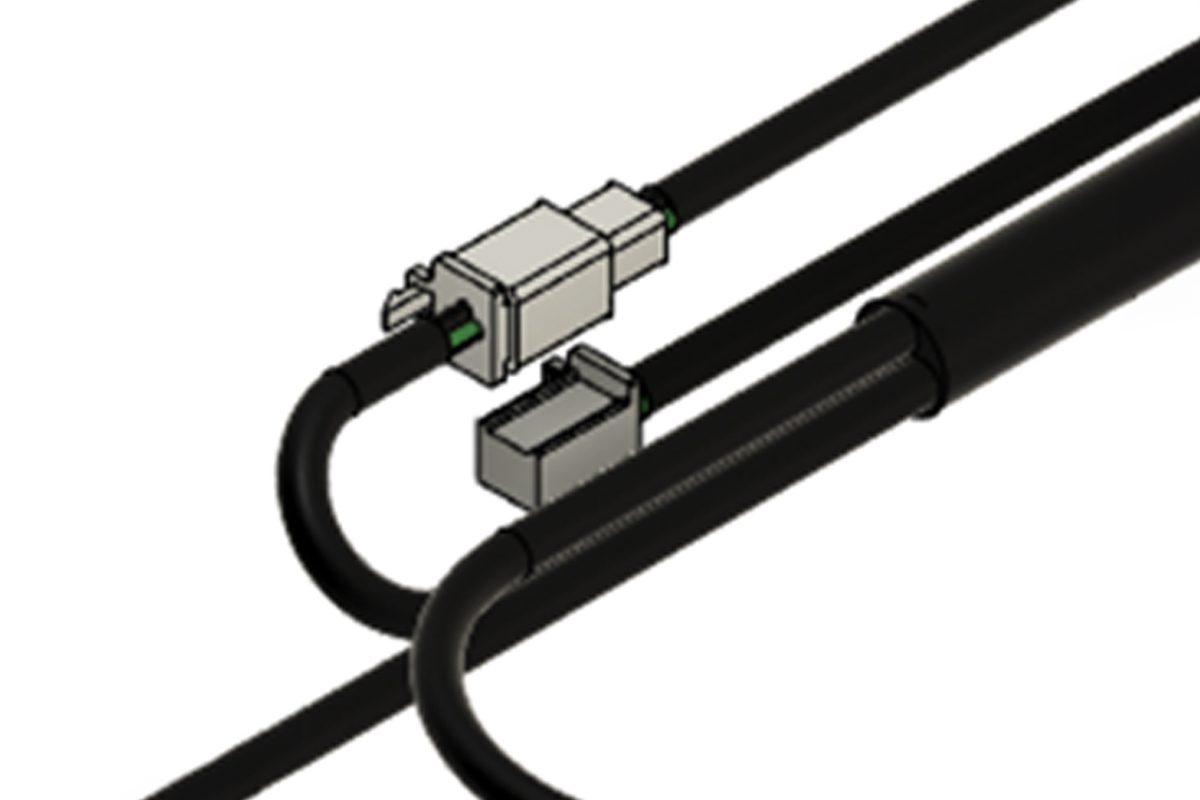
Step 6. Plug the small white connector from the wireless receiver into the corresponding connector from the main relay harness. This will allow your integration kit to work using the remote fob. The final connector can be used to feed a rocker switch, also supplied with our kits, into the cabin of the vehicle.